Painting a room can look straightforward—until walls start flashing under evening light, caulk lines split, or baseboards scuff a week later. In Torrance, local conditions (coastal influence, mature landscaping shade, and mixed-floor-plan homes) make details matter even more. Here’s a field-tested guide to the mistakes we see most often—and how our team fixes them so your finish looks great in person and in photos.
(Need it handled end-to-end? Our crew can manage sampling, prep, and a smooth finish through Interior Painting. If cabinets are part of the problem, see Cabinet Painting for a durable refresh.)
1) Skipping a True Clean: Paint Over Dust, Oil, and Gloss
The mistake: Wiping with a dry rag and diving straight into paint. In Torrance, HVAC cycles and nearby traffic can push fine dust onto walls; kitchens collect vaporized oils, and older trim often has a slick enamel layer. Paint doesn’t bond well to residue or shine.
How we fix it:
- Degrease and dust first (especially kitchens, kids’ zones, and stair walls).
- Rinse to remove cleaner residue.
- Scuff-sand glossy surfaces and HEPA-vacuum.
- Use the right primer (see #3) so your topcoat locks down and levels.
2) The Wrong Caulk (or No Caulk) on Moving Joints
The mistake: Using bargain caulk or skipping it entirely around door casings, crown, and baseboards. Seasonal humidity and daily temp swings flex joints; cheap caulk shrinks and cracks.
How we fix it:
- High-quality, paintable elastomeric or siliconized acrylic at trim transitions.
- Tool the bead for a crisp line before paint.
- For chronic hairline cracks, upgrade to advanced urethane-hybrid sealants that move with the house.
3) Priming by Habit—or Not at All
The mistake: Either priming everything (wasting time and money) or priming nothing (leading to stains and adhesion issues). Primer is a tool, not a default.
How we fix it:
- Bonding primer for slick trim, enamel doors, and previously glossy walls.
- Stain-blocking primer over watermarks, knots, and previous pen/marker marks.
- Mildew-resistant drywall primer for bathrooms and laundry rooms.
- Tinted primers when jumping from dark to light to reduce coats and improve coverage.
4) Ignoring Sheen Strategy—Then Living With Flashing
The mistake: Rolling eggshell over patched areas without priming, or mixing sheens across continuous walls. In Torrance, homes with lots of natural light can exhibit uneven absorption, leading to “flashing.”
How we fix it:
- Spot-prime patches so finish sheen matches across the wall.
- Choose one sheen per continuous surface: durable matte (texture-hiding) or eggshell (cleanable).
- Satin for trim and doors to sharpen edges without mirror glare.
5) Thin Coverage, Over-Working, and Lap Marks
The mistake: Rolling paint too thin, going back over half-dry sections, or using mismatched roller naps. Result: lap marks and uneven color bands.
How we fix it:
- Right roller nap for the substrate (⅜”–½” for most walls).
- Maintain a wet edge and work in organized sections.
- Apply two uniform coats at the manufacturer’s recommended spread rate.
6) Color That Shifts With Torrance Light
The mistake: Choosing an icy “gallery” white or a trendy gray that looks great at noon but cold at 6 p.m. North and tree-shaded exposures in Torrance can turn cool shades blue; bright west light can make warm tones go yellow.
How we fix it:
- Targeted sampling: three swatches—your pick, one slightly warmer, one slightly greener/greige.
- Check morning, midday, and evening (and with your actual bulbs).
- Favor balanced greige or softened white for continuity in open plans.
7) Texture Telegraphed Through the Finish
The mistake: Skipping patch and skim steps on dings, nail pops, or orange-peel walls. Fresh paint can highlight imperfections, especially under side light in halls and stairs.
How we fix it:
- Proper patch/skim, sand smooth, then spot-prime.
- Feather edges so repairs disappear after the topcoat.
- Choose sheen wisely (durable matte hides more than eggshell).
8) Dirty Lines at Ceilings, Base, and Casings
The mistake: Freehanding entire rooms without masking or using tired tape that bleeds. Messy lines shrink the perceived quality of even a premium paint.
How we fix it:
- Mask smart with fresh, surface-appropriate tape.
- Cut clean lines with sharp brushes and a steady technique.
- Pull tape at the right time to avoid tearing or ridge build-up.
9) Painting Over Moisture Problems
The mistake: Covering bathroom mildew or laundry-room humidity stains without solving the cause. Paint fails quickly when humidity remains high.
How we fix it:
- Clean and treat surfaces, then prime with mildew-resistant products.
- Upgrade ventilation and run fans 20 minutes after showers.
- Use moisture-tolerant finishes (durable matte/eggshell on walls, satin on trim).
10) Mismatched Trim & Door Strategy
The mistake: Bright, cool trim white against warm walls—or old oil enamel repainted with waterborne paint without prep—leads to clashing tones or adhesion issues.
How we fix it:
- Soft, harmonious trim white that pairs with your wall color.
- Degloss and bonding primer on old oil- or glossy-trim before topcoat.
- Satin sheen for a crisp, not shiny, look.
11) Open-Plan Chaos: Too Many Colors
The mistake: Switching colors in every room of an open layout, chopping up sightlines, and making spaces feel smaller.
How we fix it:
- One main neutral through connected areas.
- A subtle step deeper into a fireplace, niche, or built-ins for definition.
- Keep doors/trim consistent to unify the whole.
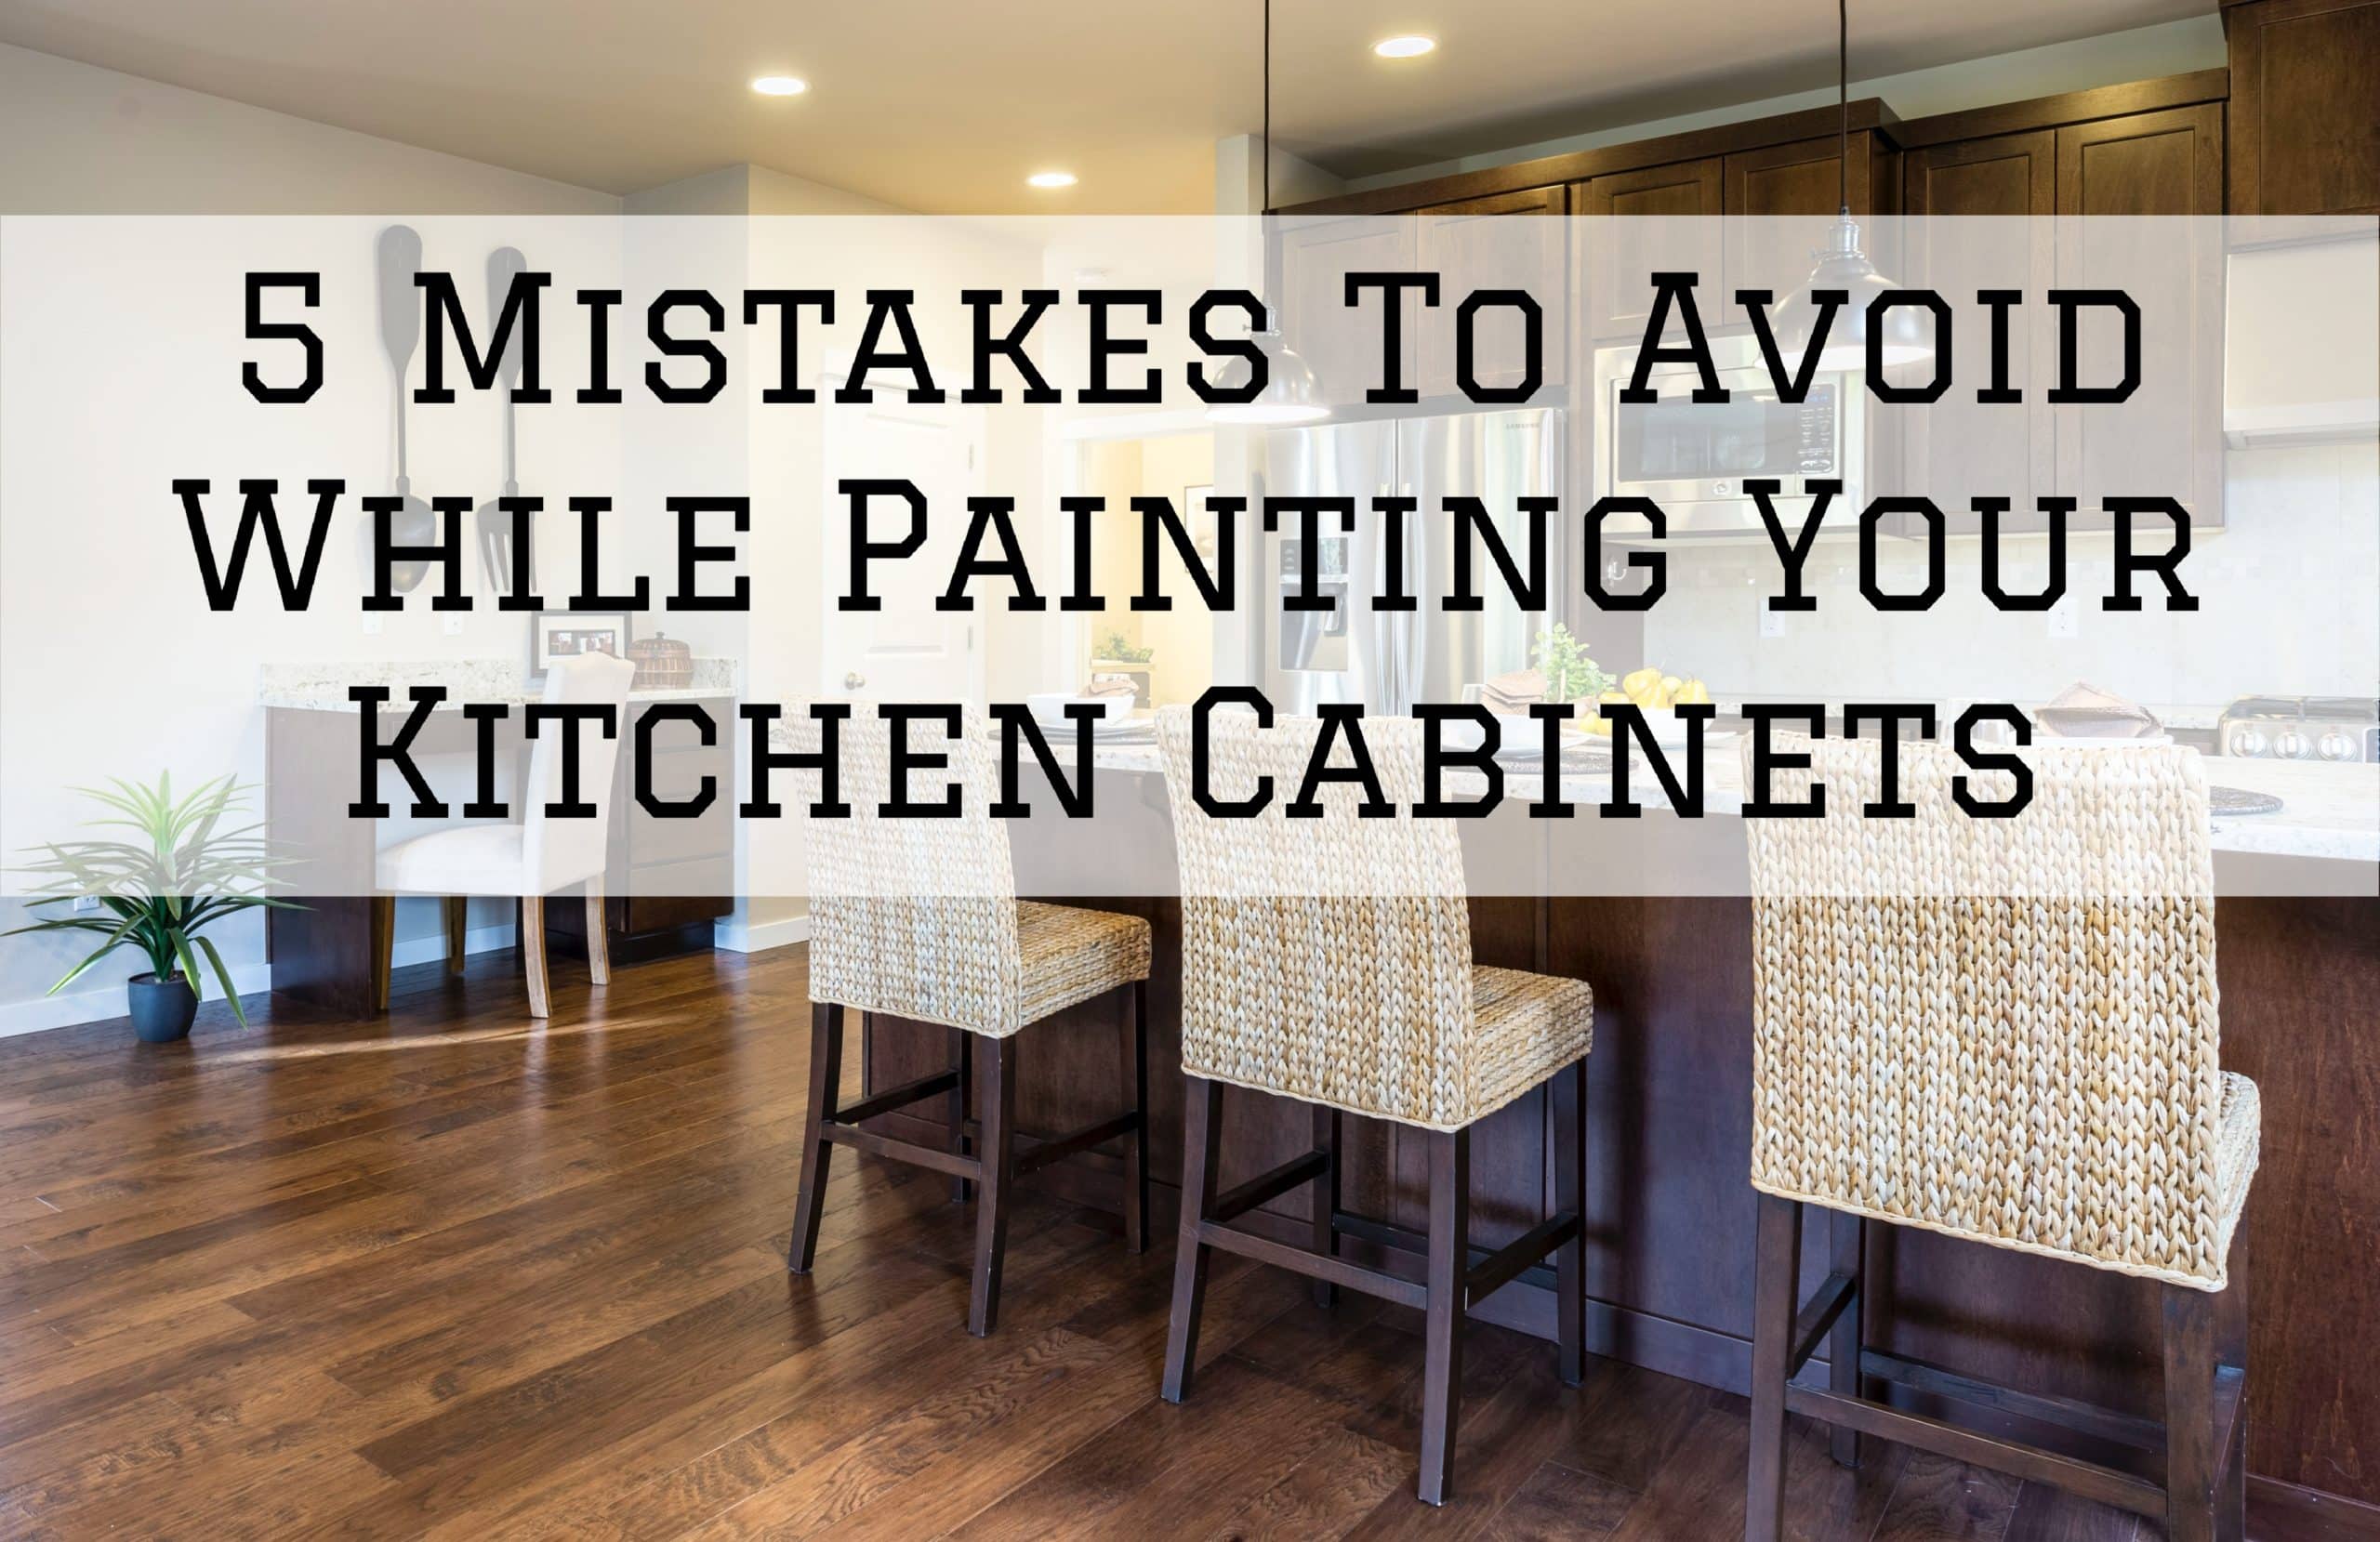
12) Cabinet Repaints Done Like Walls
The mistake: Using wall paint and methods on cabinets. Kitchens and baths demand harder-wearing systems.
How we fix it:
- Degrease, sand, and mask like a shop environment.
- Bonding primer for enamel grip.
- Cabinet-grade finishes are sprayed or brushed to a factory-like result.
- (If yours need a refresh before selling or staging, see Cabinet Painting.)
13) Poor Scheduling Around Humidity and Cure Time
The mistake: Painting right before a gathering or during a damp spell. Soft films scuff easily; high humidity slows cure.
How we fix it:
- Plan rooms in sequence so traffic can be rerouted.
- Allow proper drying and cure windows; keep airflow steady.
- Use fans/AC to stabilize interior humidity while coatings set.
14) Touch-Up Trouble: Glossy Patches and Color Shifts
The mistake: Spot-rolling touch-ups with fresh paint long after the original job was completed. Even the same color can read differently with age and sheen wear.
How we fix it:
- Feather touch-ups from the center out after a light scuff.
- Use the same batch when possible and note sheen/lot numbers.
- For stubborn areas, re-coat the full panel/wall edge-to-edge.
A Simple, Torrance-Proof Whole-Home Palette
- Main spaces: a balanced greige or softened white that stays steady across shaded and bright rooms.
- Bedrooms: a slightly warmer neutral for evening comfort.
- Accent (optional): a low-chroma, mid-depth neutral on a fireplace or built-ins.
- Trim/doors: a softened white in satin for clean edges.
Our Fix-First Process (What We Do Differently)
- Walkthrough & light read: exposure, glare, and color goals.
- Surface prep: deep cleaning, deglossing, patching/skimming, and targeted priming.
- Caulk & mask: flexible, paintable sealants and clean lines.
- Application: roller/brush methods that maintain a wet edge and consistent film build.
- Detailing: crisp transitions at ceilings, trim, and built-ins.
- Final check: review multiple times a day to catch flashing or color shifts.
Ready for a refresh that stays fresh? Start with Interior Painting. If your project touches the garage entry or studio floors, Epoxy Floor Coatings can create a clean, sand-resistant zone that doesn’t scuff your new baseboards.
Maintenance Tips That Keep Walls Looking New
- Gentle cleaning: monthly wipe-downs of high-touch zones (stairs, hallways).
- Prime before repairs: any patch needs spot-priming to avoid flashing.
- Control humidity: use bath/laundry fans; stable RH protects paint.
- Keep a touch-up kit: labeled pint of each color, matching roller/brush, and a sanding sponge.
FAQs
1) Why does my new paint look patchy at night?
That’s likely flashing—unprimed patches or uneven sheen. Spot-prime repairs and keep one sheen across a continuous wall for a uniform look.
2) What sheen should I use for walls in busy rooms?
Durable matte hides texture and looks elegant; eggshell adds wipeability. Use satin on trim and doors.
3) Can I paint over old oil trim with water-based paint?
Yes—degloss, clean, and apply a bonding primer first. Then, topcoat with a quality acrylic enamel.
4) How many coats do I really need?
Usually, two coats of uniform paint after proper prep and priming, as needed. Thin, single-coat coverage is a common cause of unevenness.
5) Are accents a bad idea in small rooms?
Not at all—keep them low-chroma and mid-depth, and place them on features like a fireplace or built-ins so the room still feels open.

David Cooley, the esteemed owner of Cooley Brothers Painting, has established himself as a leading figure in the painting industry. With a rich history of delivering unparalleled service in Torrance, Manhattan Beach, Palos Verdes Estates, Redondo Beach, and Rolling Hills, his hands-on approach and dedication to quality have shaped Cooley Brothers Painting into a trusted name for exceptional painting services. With a focus on innovation, customer satisfaction, and community engagement, David’s leadership continues guiding his team toward new heights of excellence and reliability in every project.