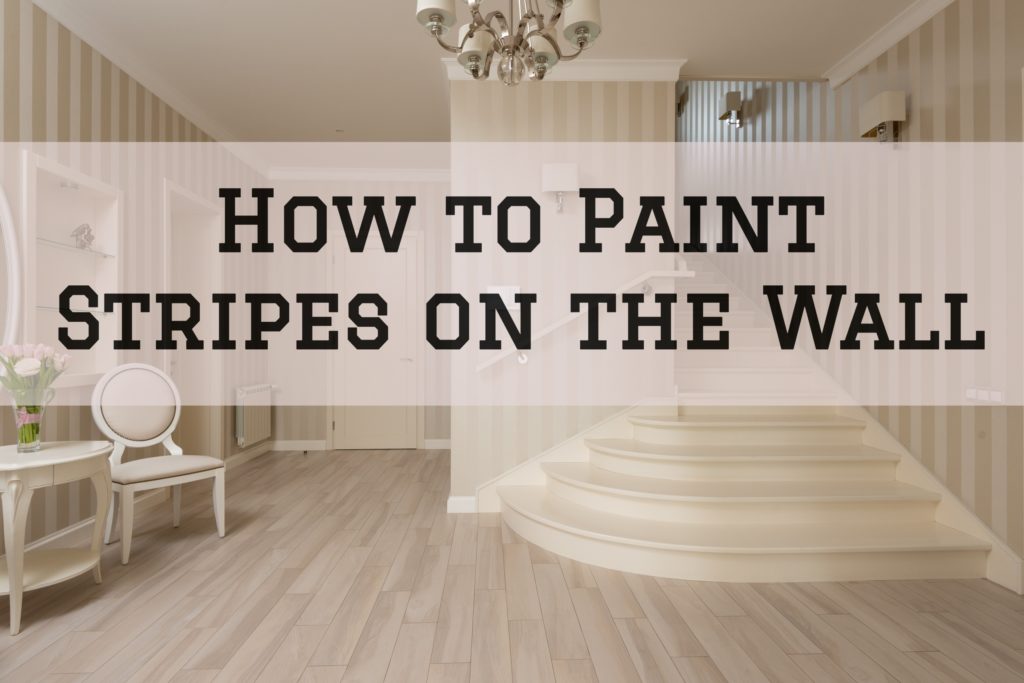
How to Paint Stripes on the Wall in Palos Verdes Estates, CA
As years go by, do you think about upgrading your walls so they won’t get too boring to the eyes; like having interesting stripes on the wall?
Did you know that you can always add unique ways to your walls when you paint stripes design, whether it is horizontal or vertical stripes?
Painting stripes on the walls create an impression, and it’s a great and trendy technique for updating an old interior.
Striped walls are usually simple, but it’s bold; that’s why you must come up with an exact design that will work for your home or space.
Also, the width of the stripes or lines could influence the amount of work required.
With many considerations that you have to keep in mind, check out the guidelines on how to paint stripes on the wall in Palos Verdes Estates, CA.
-
Prepare all Materials Needed
Before you start with the process, you’re going to need things to achieve the striped walls you’ve always wanted.
As for the tools, you will need: a paint tray, paint roller, yardstick, and colored pencil to help you match the stripe color, trim brush, and carpenter’s level.
You’re also going to need the materials such as paint in preferred colors and low-tack painter’s tape.
When all these are ready, then you can proceed with the process.
-
Painting the Base Coat
First, you need to apply a base coat of paint on clean drywall using a paint roller, and you have to let it dry so you can proceed with applying the second coat if you have to.
And for you to be able to mask around windows, doors, ceiling, and the floor, you also need to use the painter’s tape to do it the right way.
-
Divide and Measure the Wall
You also have to measure the desired width of stripes on your wall and divide the wall into equal increments.
You also need to adjust the width to fit the wall or achieve the look you want, and using a colored pencil, would match the stripe color and make a light hash mark at each increment.
-
Apply Painters Tape and Tracing the Lines
Next is the drawing of lines, whether vertical or horizontal, at each of the marks, and you have to make sure that you measure the stripes to ensure it remains even and parallel.
You also need to tape before you paint if you want a crisp line.
You have to place a line of painter’s tape outside each pencil line so the stripe will cover the pencil line.
And just a tip, paint over the tape edge using the base coat to prevent the bleeding of stripe color and let it dry afterward because if there’s a paint that will bleed, the stripes will no longer be noticeable.
-
Cut the Left Side of the Stripe
You should also cut the left edge part of the stripe along the ceiling using the trim brush.
The paintbrush also needs reloading when needed so that the color would be even and opaque in covering pencil lines.
-
Filling the Stripes
Once you’ve completed the previous steps, then you can now proceed in filling the center of each stripe.
Paint the center part of the stripe through long, vertical strokes.
However, if your stripe pattern is wide enough, you may use a roller brush to get the job done right.
-
Cutting the Right Side of the Stripe
Lastly, you need to cut the right edge of each stripe, covering the pencil line.
Cut the baseboard and repeat for the remaining stripes and touch up uneven spots using a small brush if there are any.
Next, you have to remove the tape right away.
Cooley Brothers Painting is a locally owned, owner-operated, family business in Torrance, California. Call the office at 310-378-4575 or email us: info@cooleybrothers.com. You can also use our contact page to reach us.
Related: 7 More Ways To Boost Your Curb Appeal in Palos Verdes Estates, CA
Painting An Accent Wall In Your Living Room in Rolling Hills, CA
7 Tips For Painting The Ceiling Without Getting Paint On The Wall in Rolling Hill, CA

