When it comes to painting your home, whether inside or out, preparation is everything. A fresh coat of paint can transform a house, but skipping critical prep steps can lead to poor results, wasted time, and unnecessary expense. One of the most crucial steps in this process is power washing. This article explores why power washing is a non-negotiable part of the painting process, the benefits it offers, and how to do it correctly.
A Strong Foundation for a Lasting Finish
Imagine the satisfaction of preparing a clean, smooth surface for your paint to adhere to. Power washing your home before painting ensures a professional-looking finish, giving you a sense of accomplishment and pride in your home improvement project. Whether you’re repainting your home’s exterior or revitalizing an interior room, power washing is a critical first step you shouldn’t overlook.
What Is Power Washing, and Why Does It Matter?
Power washing, also known as pressure washing, involves using a high-powered stream of water to clean surfaces. The terms’ power washing’ and ‘pressure washing’ are often used interchangeably, but there is a slight difference. Power washing uses hot water, while pressure washing uses cold water. This technique removes dirt, dust, grime, mold, mildew, algae, and other contaminants that accumulate over time. For exterior painting projects, these substances can act as barriers, preventing paint from properly adhering to the surface.
The benefits of power washing extend beyond aesthetics:
- Improved Paint Adhesion: A clean surface ensures the paint bonds effectively, reducing the risk of peeling or chipping.
- Longer Paint Lifespan: Clean surfaces allow paint to adhere more evenly, increasing durability.
- Healthier Environment: Removing mold and mildew creates a healthier living space, especially for those with allergies or respiratory issues.
- Your home’s appearance will improve as you power wash, building anticipation for the final Appeal. Even if you’re not painting immediately, power washing rejuvenates your home’s appearance, making you excited to see the final result.
By not skipping this step, you can avoid poor results and additional expenses. Properly prepared surfaces, thanks to power washing, often require fewer touch-ups or complete redo. This knowledge can bring a sense of relief, knowing you’ve taken the necessary steps to ensure a successful paint job.
Common Surfaces That Benefit from Power Washing
Power washing isn’t just for siding; it can prepare various surfaces for painting. Here are some common areas that benefit from this process:
- Exterior Walls: Vinyl, wood, brick, stucco, and other materials all accumulate grime over time. Power washing clears these contaminants to create a smooth, paint-ready surface.
- Decks and Fences: Wooden decks and fences can collect dirt, algae, and mildew, which can prevent stains or paint from adhering correctly.
- Concrete Surfaces: Driveways, sidewalks, and patios often collect oil stains, dirt, and debris. Cleaning these areas can make your entire property look cleaner and more cohesive.
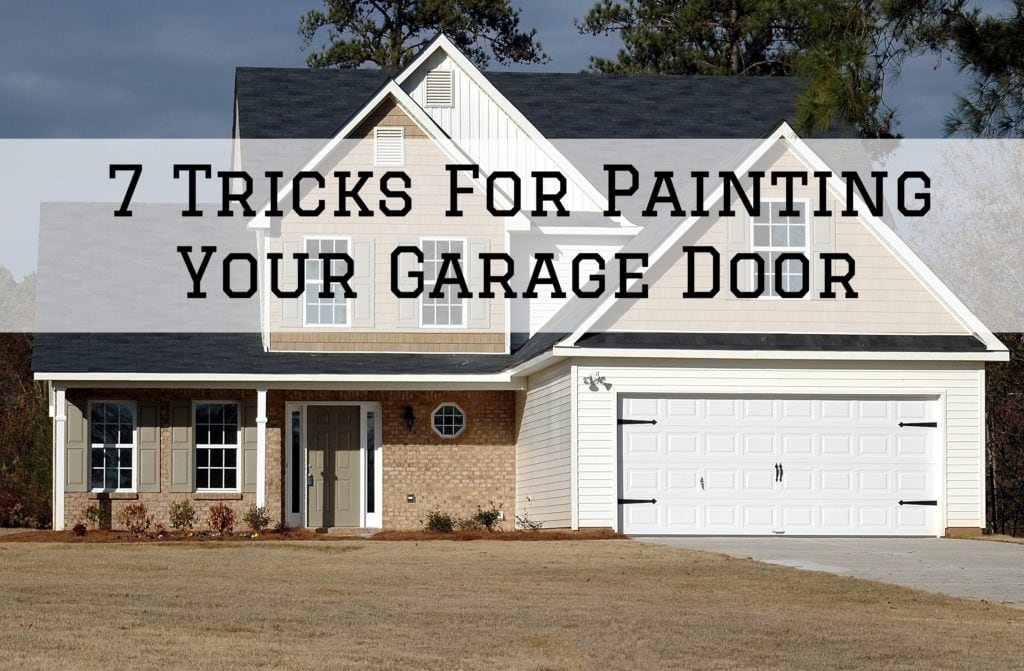
- Garage Doors and Trim: These often-overlooked areas can gather grime, diminishing the overall look of your paint job if left untreated.
How to Power Wash Properly Before Painting
While power washing is highly effective, it’s not as simple as pointing a hose at your home. Incorrect techniques can cause damage or leave areas inadequately cleaned. It’s important to follow safety precautions when power washing. Always wear protective gear, such as goggles and gloves, and be mindful of electrical outlets and other potential hazards. Follow these steps for successful power washing:
- Choose the Right Equipment: Select a power washer with adjustable pressure settings. Use a lower pressure setting to avoid damage to delicate surfaces like wood or stucco. Higher pressure works well for more challenging surfaces like concrete or brick.
- Select Appropriate Cleaning Solutions: Use eco-friendly cleaning solutions that are safe for your surfaces. For areas with mold or mildew, consider adding a bleach-based cleaner to your power washer.
- Test on a Small Area: Before starting, test the power washer on a small, inconspicuous area to ensure the pressure and cleaning solution won’t damage the surface.
- Work Methodically: Start at the top of the surface and work your way down. This ensures dirt and debris flow downward without re-soiling cleaned areas.
- Allow Time to Dry: After power washing, allow the surface to dry completely before painting. This typically takes 24 to 48 hours, depending on weather conditions.
When to Hire a Professional for Power Washing
While DIY power washing is possible, certain situations call for professional expertise. Here are some reasons to consider hiring a pro:
- Lack of Experience: Power washers can cause significant damage if misused, such as stripping wood or damaging stucco.
- Difficult Access: Multi-story homes or areas with challenging access points may require specialized equipment and expertise.
- Tight Timelines: Professionals can complete the job faster, saving you time and effort.
- Stubborn Stains or Mold: If areas are heavily soiled or covered in mold, professionals have the tools and knowledge to tackle the issue effectively.
Hiring a professional ensures a thorough and damage-free cleaning, setting the stage for a flawless paint job.
Beyond Cleaning: Other Preparation Steps for Painting
Power washing is just the first step in a comprehensive surface preparation process. To achieve the best results, follow up with these additional steps:
- Scraping and Sanding: After power washing, inspect for peeling or flaking paint. Scrapers and sandpaper are used to smooth these areas.
- Repair Damage: Fill cracks, holes, or other imperfections with appropriate fillers. This step ensures a uniform finish.
- Priming: Apply a high-quality primer to ensure better paint adhesion, especially on porous surfaces or areas with stains.
These steps, combined with power washing, lay the foundation for a paint job that lasts for years.
Set Yourself Up for Success
Power washing before painting isn’t just an optional step – it’s a crucial part of the preparation process that ensures a clean, smooth, and durable finish. By removing dirt, grime, and contaminants, you’re giving your paint the best chance to adhere properly and look its best. Whether you tackle the job yourself or hire a professional, power washing is an investment in the longevity and quality of your paint job. Don’t skip this vital step; your home will thank you with a stunning, long-lasting transformation.
FAQs
1. Why does skipping power washing doom your paint job to early failure?
Power washing blasts away invisible grime, mold, and mildew that sabotage paint adhesion, turning your fresh coat into a peeling disaster within months. Without this deep clean, contaminants create a slippery barrier, slashing paint lifespan by years and wasting your investment. Imagine paint bubbling like a bad soufflé—power washing ensures it bonds for enduring beauty and protection.
2. Can power washing alone make your home look freshly painted without a brush?
Even sans new paint, power washing rejuvenates faded siding, decks, and concrete by stripping algae and dirt, unveiling vibrant undertones beneath. This instant glow builds excitement for the full repaint while priming surfaces perfectly. It’s like hitting refresh on your home’s curb appeal, proving cleanliness rivals color in transformation power.
3. What if your power washer pressure strips more than just dirt?
Incorrect high pressure ravages delicate wood or stucco, etching gouges that demand repairs before painting. Test small spots first, dial down for fragility, and use hot water judiciously for tough mold. Mastering this balance prevents costly damage, turning potential pitfalls into a flawless prep stage for superior results.
4. When does DIY power washing surrender to pro mastery?
Tackle simple single-story cleans yourself, but multi-level heights, stubborn oil stains, or intricate trim scream for experts with industrial gear. Pros finish faster, sidestep disasters like electrical hazards, and guarantee uniform cleanliness. Their precision elevates your paint job from amateur to showroom, saving time and heartbreak.
5. Beyond washing, what hidden prep rituals seal paint perfection?
Post-wash, scrape loose flakes, sand rough spots, patch cracks, then prime for unbreakable adhesion—skipping invites cracks and fading. This ritual sequence transforms a soapy surface into an invincible canvas, extending vibrancy for a decade. Think of it as your home’s armor: layered defense against weather’s relentless assault.

David Cooley, the esteemed owner of Cooley Brothers Painting, has established himself as a leading figure in the painting industry. With a rich history of delivering unparalleled service in Torrance, Manhattan Beach, Palos Verdes Estates, Redondo Beach, and Rolling Hills, his hands-on approach and dedication to quality have shaped Cooley Brothers Painting into a trusted name for exceptional painting services. With a focus on innovation, customer satisfaction, and community engagement, David’s leadership continues guiding his team toward new heights of excellence and reliability in every project.