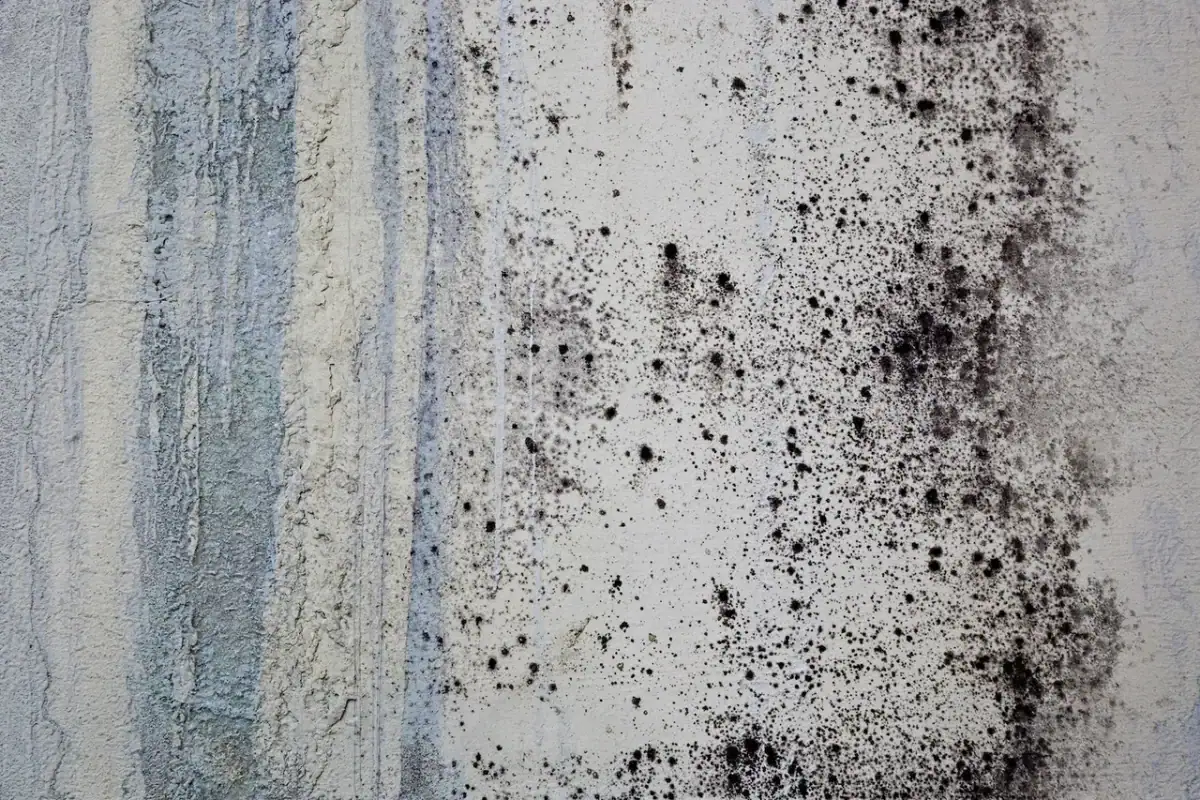
Dark stains around windows. Hairline cracks that grew after last winter’s storms. A soft, chalky patch that crumbles when you touch it. If this sounds familiar, you’re likely wondering how to repair water damaged stucco without making the problem worse—or just hiding it until it returns. Good news: with careful inspection, the right materials, and a step-by-step plan, you can restore your stucco’s appearance and performance and keep moisture out for the long term.
For a helpful companion read, see our primer on the basics of stucco repair—it pairs well with the steps below.
If you'd rather hand this off, Cooley Brothers Painting, a South Bay painting company, does exterior painting for homes across the South Bay.
First things first: what “water damage” looks like on stucco
Water damage shows up in a few predictable ways. Spotting these early helps you choose the right repair.
- Brown or rust-colored stains that radiate beneath window sills, roof edges, or deck ledgers
- Efflorescence—a powdery white residue from mineral salts migrating to the surface
- Hairline to map cracking (often from movement or trapped moisture)
- Bulging, hollow-sounding areas where the stucco has separated from the lath or substrate
- Soft, crumbly spots that shed sand when rubbed
- Peeling or blistering paint where moisture pressure pushes outward
If you see bulges, widespread softness, or leaks inside the house, plan on a deeper repair rather than a quick skim.
Understand the system you’re working with
“Stucco” is a layered system, not just the top coat.
- Framing and sheathing (wood or masonry)
- Weather-resistive barrier (WRB) and flashings
- Metal lath (for traditional 3-coat stucco)
- Scratch and brown coats (cement base)
- Finish coat (cement or acrylic) and paint or color coat
Water can enter through failed caulk, bad flashing, hairline cracks, or capillary action at unsealed edges. A lasting fix means stopping the water at its source and then repairing the stucco layers as needed.
Diagnose before you repair: find the water path
Run through this quick checklist to locate how moisture is getting in.
- Windows and doors: Check head flashings, sill pans, and side jamb caulking. Look for open miters at trim.
- Roof intersections: Pay attention to kick-out flashings where roofs meet walls. Missing or undersized kick-outs are a common source of stains.
- Decks and railings: Ledger boards often lack proper flashing.
- Penetrations: Light fixtures, hose bibs, vents, and conduit should be sealed and flashed.
- Planter boxes and grade: Soil or planter tops that are too high wick moisture into the wall.
Fixing the path first prevents moisture from being trapped behind a shiny “repair.”
Tools and materials you’ll likely need
- Cold chisel, margin trowel, and a plasterer’s hawk
- Angle grinder with a diamond blade (for controlled cuts)
- Utility knife and painter’s multi-tool
- Polymer-modified stucco repair mix (base and finish) or a 3-coat system kit to match the existing
- Acrylic bonding agent (if required by your product)
- Self-adhered flashing tape, metal flashing as needed
- Galvanized metal lath and corrosion-resistant fasteners (for deeper repairs)
- WRB (housewrap or felt) for patching the weather barrier
- Masonry/paintable sealant (high-quality polyurethane or silyl-terminated polyether)
- Masonry primer, elastomeric, or high-quality acrylic exterior paint
- PPE: safety glasses, gloves, N95 or respirator when grinding, hearing protection
How to repair water damaged stucco: three paths
Not all damage needs the same approach. Use this tiered plan.
Path A: Cosmetic/Surface-level repair (stains, tight hairline cracks)
When to choose it: Stains from runoff, no softness or hollow areas, and cracks you can barely catch with a fingernail.
Steps:
- Clean. Wash with a stucco-safe cleaner. For mildew, use a house wash with a mild biocide. Rinse thoroughly; let dry.
- Open and fill hairlines. V-notch cracks lightly with a utility knife so the filler can key in.
- Seal. Use an elastomeric crack filler or a fine stucco patch; tool to a smooth finish and feather the edges.
- Prime and paint. Prime patched areas with a masonry primer. Finish with a high-quality acrylic or a breathable elastomeric coating to bridge micro-cracks and shed water.
Why it works: You’re sealing hairline openings and protecting the surface with a flexible, water-shedding topcoat—ideal for minor issues.
Path B: Shallow patch repair (localized soft or loose areas)
When to choose it: Small sections (say, up to a few square feet) are soft, crumbling, or hollow—but the underlying lath and sheathing are sound.
Steps:
- Outline the damaged area. Cut a neat rectangle around the affected zone with an angle grinder, going just deep enough to remove the finish and brown coat without mangling the lath.
- Remove loose stucco. Use a cold chisel to lift out weak material until you reach firm, gritty stucco.
- Inspect the lath. If it’s intact and firmly attached, you can rebuild on it. If it’s rusted or detached, move to Path C.
- Prep the edges. Undercut the patch edges slightly for mechanical lock; brush away dust. Apply bonding agent if your mix calls for it.
- Rebuild the base. Apply a polymer-modified base coat to about the thickness of the original brown coat. Scratch lightly if required. Allow to set per instructions.
- Apply the finish coat. Use a matching texture (float, dash, trowel, lace). Blend back into the surrounding field, working the edges while the material is still workable.
- Cure, prime, and paint. Keep the patch from drying too quickly (lightly mist in hot weather). After curing, spot-prime and topcoat the wall for a uniform look.
Why it works: You’ve removed weak material and rebuilt the mineral layers while keeping the sound lath and barrier untouched.
Path C: Full-depth wall patch (lath/WRB replacement)
When to choose it: Bulging areas, extensive softness, visible rusted lath, or repeated wetting around windows/doors.
Steps:
- Open the assembly. Cut out the stucco to the lath, then carefully remove the lath to expose the weather-resistive barrier and sheathing. Expand the opening until the edges are clean and solid.
- Dry and repair the substrate. If the sheathing is damp, allow it to dry, then replace any rotted sections.
- Rebuild the weather barrier. Patch WRB with new housewrap or felt, shingle-lapping seams so water sheds down and out. Replace or add metal head flashings and sill pans as needed. Integrate with self-adhered flashing tape at window/door ties-in.
- Install a new lath. Fasten galvanized lath to studs with corrosion-resistant nails or screws, maintaining proper overlap and fastener pattern. Use casing beads or control joints if the opening requires clean terminations.
- Three-coat stucco rebuild (or approved two-coat over lath):
- Scratch coat: Press material through the lath, then score horizontal lines.
- Brown coat: After the initial set of scratches, apply to level and plane with the surrounding wall; float for flatness.
- Finish coat: Once cured, match the existing texture.
- Cure, then seal and paint. After proper cure time, prime and paint or apply a color coat. Seal all perimeter joints with a high-quality sealant.
Why it works: You’re resetting the envelope—barrier, lath, and stucco—so water has a safe path out, and your wall regains strength.
Matching the existing texture (so the patch disappears)
Stucco textures vary widely: sand float, dash, fine lace, heavy lace, cat face, skip trowel, and more. To blend:
- Practice on a board with your chosen finish mix.
- Adjust sand size or dilute the finish slightly to mimic the granularity.
- Feather the transition over a broader area than the patch itself.
- Use the same tools (trowel, float, dash gun) and timing as those used to create the original look.
A good texture match, along with a uniform topcoat, will make the repair blend in.
Sealants and joints: tiny details, big impact
Most water issues start with details. After repairs:
- Backer rod + sealant at wide gaps for better joint performance.
- Use polyurethane or STPE sealants for flexibility and paintability.
- Tool the joint to a slight hourglass shape; avoid over-filling, flush to the surface.
- Seal at window/door perimeters, light fixtures, and transitions to dissimilar materials.
Prime and paint: protect the fix
Once your stucco cures:
- Prime patches with a masonry/block filler or acrylic masonry primer for better color and sheen uniformity.
- For hairline-prone walls, consider a high-build elastomeric or elastomeric-enhanced topcoat to bridge micro-movement and repel wind-driven rain.
- If you prefer standard acrylic paint, choose a top-tier exterior line with strong dirt-pickup resistance and UV stability.
Want more context on choosing coatings once repairs are done? See our guide on stucco repair basics—we also include practical paint/primer tips there.
Drying and curing: don’t rush this part
Cement-based stucco needs time:
- Initial set: within hours, depending on the weather
- Cure before finish coat: commonly 24–48 hours for polymer-modified repairs; follow your product
- Full cure: can extend to 7 days or more—especially for thicker patches
Painting too soon can trap moisture and lighten color. Allow the patch time to cure, and paint in good weather with no rain in the forecast.
Prevent the next leak: maintenance checklist
- Keep kick-out flashings clear and correctly sized at roof-to-wall intersections.
- Re-caulk window/door perimeters at the first sign of cracking.
- Maintain clearances at grade: soil and mulch should sit below stucco weep screeds.
- Inspect after big storms: look for fresh stains or hairlines and address them early.
- Clean the exterior gently every year or two to reduce grime that can hold moisture against the wall.
DIY vs. pro: where to draw the line
- DIY-friendly: Hairlines, small cosmetic patches, sealing joints, priming, and painting.
- Call a pro: bulging or hollow areas over a few square feet, rusted lath, repeated leaks near windows/doors, or any repair that exposes the WRB and flashing. Pros also help with texture matching across large, visible areas.
If you want a deeper walkthrough before deciding, we cover fundamentals in The Basics of Stucco Repair—What Homeowners Need to Know.
Quick step-by-step: your “fridge list”
- Identify the moisture source (flashings, joints, penetrations)
- Choose a repair path: surface, shallow patch, or full-depth
- Remove weak material; clean and prep edges
- Rebuild with compatible stucco mix; match texture
- Seal joints and penetrations after cure
- Prime and paint with a protective exterior coating
- Monitor after the first storm; touch up if needed
FAQs
1) Can I just fill a crack and paint over it?
For hairlines, yes—open the crack slightly, use an elastomeric crack filler, then prime and paint. For larger cracks or hollow areas, you’ll need a true patch.
2) How do I know if the lath is rusted?
Open the area until you can see it. If it’s red, flaky, or detached from studs, replace it and check the WRB and flashing before rebuilding.
3) Do elastomeric paints trap moisture?
Quality elastomers are vapor-permeable while still shedding rain. Pair them with sound repairs and proper flashings for the best results.
4) Can I patch stucco in rainy or very hot weather?
Avoid both. Rain compromises fresh stucco; extreme heat can flash-dry and crack it. Aim for mild, dry days; use shade when possible; and mist in hot weather.
5) How long will a stucco patch last?
If you seal the leak path, match materials, and protect the patch with primer and paint, it can last as long as the surrounding wall. Neglect flashing or joints, and problems return quickly.
 David Cooley
, owns Cooley Brothers Painting, the family-owned company he started in 2009. He walks jobs with homeowners at the start, checks on progress and comes back himself if something needs attention. The company serves Torrance and the South Bay from its Torrance office.

Family-owned painters in Torrance, CA since 2009. CA CSLB License #957815.