
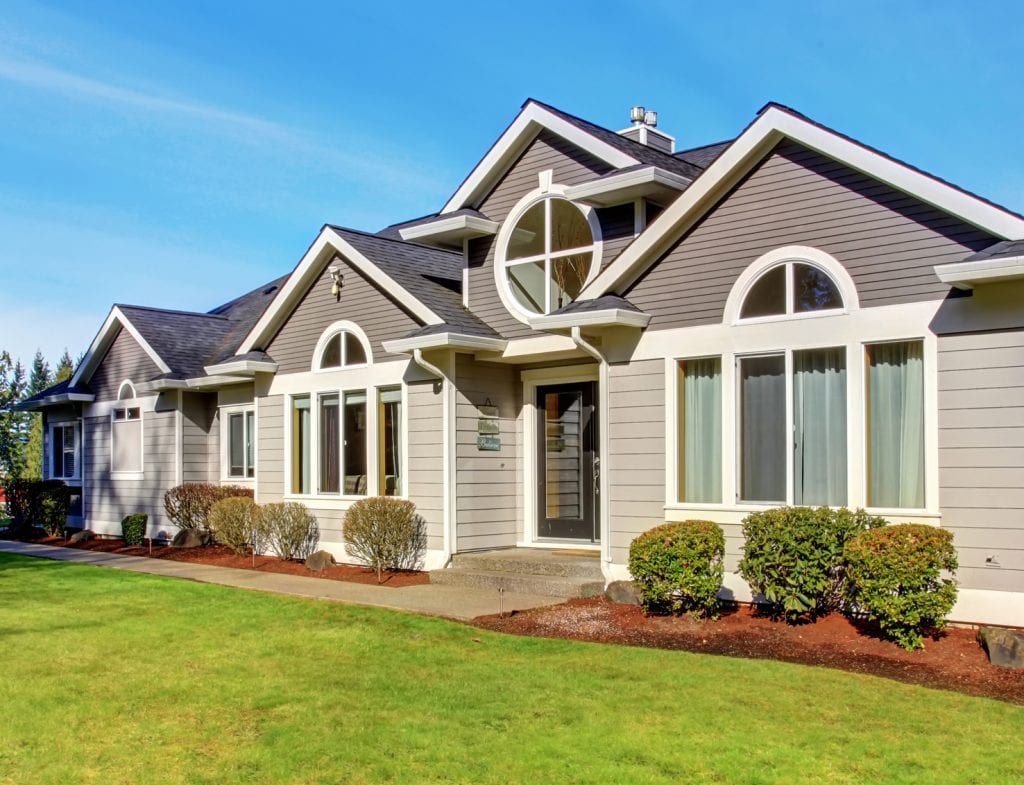
You’re staring at tired siding and peeling trim, brush in hand, asking the big question: Should I power wash my house before painting? The short answer is: usually yes—if the surface and conditions are right, and if you use the correct method. Clean siding helps new paint bond, look smoother, and last longer. But there are times when high-pressure blasting can do more harm than good. This guide shows you exactly when to power wash, when to soft wash or hand-clean, and how to prep properly for a durable, beautiful paint job.
For a deeper dive into the why and how, see our related article on power washing before painting.
The quick take
- Yes, clean first. Paint sticks to clean, dull, and dry surfaces. Dirt, mildew, chalk, and oxidized paint act like a release layer.
- Pressure isn’t the goal—cleanliness is. Use the least aggressive method that effectively cleans the surface.
- Not all materials love pressure. Excessive PSI can damage some siding (older wood, soft stucco).
- Dry time matters. After washing, let surfaces dry thoroughly before priming or painting.
- Lead paint? Stop. If your home was built before 1978, treat any existing coatings with caution and follow EPA RRP guidance.
Why washing first makes paint last
Paint adheres by creating microscopic contact with the surface. Dust, pollen, chalked pigment, spider webs, and oily residues interrupt that contact and weaken the bond. Left unwashed, you’ll likely see:
- Early peeling—especially on sunnier elevations where chalking is heavy
- Flashing and uneven sheen—contamination prevents uniform film formation
- Mildew breakthrough—organics under the new film reappear quickly
A proper wash removes these barriers, opens the pores slightly on porous materials, and leaves a uniformly clean, slightly dull surface that primer can grip.
Power washing vs. soft washing vs. hand cleaning
Think of exterior cleaning on a spectrum—from gentle to forceful:
- Hand cleaning (scrub brush + bucket): Best for small, delicate zones or areas near leaks, damaged caulk, or open wood joints.
- Soft washing (low pressure + detergent dwell time): Uses specialized cleaners to dissolve grime and kill mildew, then rinses with garden-hose pressure or a washer on a wide, low-PSI tip.
- Power/pressure washing: Adds higher PSI and flow to cut through heavy chalk, dirt, and loose paint. Correct technique is critical to avoid water intrusion or substrate damage.
Rule of thumb: Start gentle, escalate only as needed.
Surface-by-surface guidance (with safe starting points)
PSI ranges below are starting points for typical conditions. Always test in an inconspicuous area and adjust based on distance, nozzle fan, age/condition, and the presence of loose coatings.
Vinyl siding
- Goal: Remove chalking, dirt, and mildew in seams.
- Method: Soft wash or 1,200–1,500 PSI with a 40° fan. Keep the wand moving and spray with the panel laps, not upward into seams.
- Watch for: Water intrusion at J-channels, window trim, and fixtures.
Fiber cement (e.g., Hardie®)
- Goal: Clean chalk and dust, prep for acrylic paint.
- Method: Soft wash or 1,500–2,000 PSI max, 25°–40° fan, 8–12 inches off surface.
- Watch for: Damaged caulk lines and end-grain joints—avoid forcing water behind boards.
Painted wood siding & trim
- Goal: Remove only chalk, mildew, and loose paint—sound paint stays.
- Method: Soft wash + gentle rinse, or 800–1,200 PSI with a 40° fan. Keep distance; let detergents do the work.
- Watch for Feathering at the edges after dry scraping; expect follow-up hand scraping where paint is failing.
Stucco
- Goal: Lift dirt from pores without eroding the texture.
- Method: Soft wash + long dwell, garden-hose rinse or washer on very low pressure with a wide fan.
- Watch for: Hairline cracks, open foam details, and prior patchwork—excess pressure will degrade these.
Brick & masonry
- Goal: Remove soot, efflorescence, and chalk.
- Method: Detergent + gentle brushing, 1,000–1,500 PSI wide fan, rinse thoroughly.
- Watch for: Old mortar joints and spalled brick—avoid direct, close blasting.
Aluminum siding
- Goal: Clean oxidation and dirt.
- Method: Soft wash preferred. If using pressure at 1,000–1,200 PSI and a 40° fan, keep your distance.
- Watch for: Oxidation rubbing off as white residue—washing reduces it, but chalky areas may still need primer.
What about lead paint and older homes?
If your house was built before 1978, assume older layers may contain lead. Power washing can aerosolize contaminated particles and spread them. Instead:
- Use RRP-compliant methods: localized wet scraping, HEPA vacuuming, and containment.
- Avoid aggressive pressure.
- Hire a firm certified to handle lead-safe practices when in doubt.
When power washing is a bad idea
- Cracked stucco or open joints that allow water to reach the sheathing
- Soft, weathered wood that furs easily
- Failing caulk and gaps around windows/doors
- Known leaks or unflashed penetrations (light fixtures, hose bibs)
- Thin, flaking aluminum paint—gentle cleaning + priming is better than blasting
If any of the above ring true, switch to soft washing or hand cleaning and repair issues before you paint.
The chemistry that actually cleans
Water alone won’t remove oily residue or mildew hyphae. The usual toolkit:
- House wash detergent (surfactants): Loosens dirt and road film.
- Mildew cleaners (sodium hypochlorite or hydrogen peroxide blends): Kill spores; crucial in shaded or damp areas.
- Oxalic or citric acid brighteners (for bare wood/cedar stains): Evens color after cleaning.
- TSP or TSP substitutes: Cuts grease; rinse thoroughly.
Apply from bottom up to reduce streaking, let it dwell per label (don’t let it dry), then rinse from top down. Protect landscaping with pre-wet watering and post-rinse.
Step-by-step: a safe pre-paint wash
- Inspect and prep
Walk the exterior. Mark peeling paint, cracked caulk, soft wood, and open joints. Close windows. Cover light fixtures and GFCI outlets. Wet nearby plants. - Choose your method
Start with a soft wash. If heavy chalk or loose paint persists, increase pressure to moderate and use a wide fan. - Apply cleaner
Work in small sections on overcast days or in shade. Apply detergent bottom-up for even dwell. Give mildew cleaners time to work. - Agitate stubborn areas
Use a soft-bristle brush on soffits, window sills, and high-touch zones where grime compacts. - Rinse thoroughly
Top-down rinse. For lap siding, point the nozzle at the laps. Avoid spraying up into vents, soffits, and window/door heads. - Let it dry
Dry time depends on the weather and material. Siding may be paint-ready in a few hours; end grain, joints, and shaded areas often require overnight drying. When in doubt, wait longer. - Mechanical prep after dry
Scrape any remaining loose paint, sand feather edges, spot-prim bare areas, repair caulk, and patch dents or checks. - Prime smart
Use a bonding primer on chalk-prone surfaces and a stain-blocking primer where needed (e.g., water stains, tannin knots). Primer locks down residual chalk and sets a uniform base.
How much pressure is too much?
A common homeowner mistake is equating more PSI with cleaner surfaces. In reality:
- Distance + fan angle matter more than raw PSI. A 40° tip at 1,200 PSI from 12 inches is gentler than a 15° tip at the same pressure from 4 inches.
- Flow rate (GPM) affects rinsing power. Higher flow at lower PSI often cleans better and more safely.
- Dwell time does the heavy lifting. Let cleaners work so you can rinse gently.
If you see furred wood fibers, etched stucco, or water sneaking behind laps, you’re using too much force or the wrong angle.
Drying times and painting windows
Moisture trapped beneath paint causes blistering. General guidance:
- Warm, dry, breezy weather: Many exteriors are ready to prime within 4–24 hours after washing.
- Cool, humid, shaded conditions: Add time—sometimes 24–48 hours for wood and joints.
- Masonry and stucco: Surface dries quickly, but saturated pores need extra time. Check with a moisture meter or wait an extra day.
Always verify by touch and sight: the surface should feel dry, not cool and damp, and show no darkened moisture areas.
Common mistakes to avoid
- Spraying upward at lap siding, shingles, or soffits—forces water behind the cladding.
- Using a turbo/zero-degree nozzle on paintable surfaces—guaranteed gouges.
- Skipping detergent and relying on pressure to compensate causes damage and poor cleaning.
- Painting too soon after washing—trapped moisture blisters paint.
- Forgetting to rinse cleaners thoroughly—residue can interfere with adhesion.
Cost, time, and effort: what to expect
- DIY soft wash of an average single-story can take half a day to a full day, including setup and plant protection.
- Professional cleaning is faster and safer for delicate substrates, and typically includes the right chemistry, controlled pressure, and proper rinsing—saving time on later scraping and priming.
- Savings downstream: A thorough clean reduces premature failures and touch-ups, extending the life of your new paint.
The case for soft washing on most homes
Modern exterior paints perform well when applied to clean, sound surfaces. Soft washing (detergent + low-pressure) removes more biological growth with less risk than high-pressure power washing. Reserve higher pressure for masonry patios, sidewalks, or unpainted hardscapes; do not use it on delicate paintable siding.
What about washing right before you paint?
It’s smart to sequence washing, repairs, and priming ahead of paint day. Clean, let dry fully, complete all scraping/patching/caulking, spot-prime, then paint. If a storm or heavy pollen hits between cleaning and painting, a quick hose rinse or light rewash may be needed to remove fresh dust and debris.
A note on windows, doors, and trim
Water finds openings—so keep your distance around window heads, thresholds, and trim joints. After washing and drying, re-caulk gaps with high-quality, paintable exterior sealant. Paint performs best when the envelope is sealed.
Eco and plant protection
Before you spray, pre-wet plants and soil, and cover delicate specimens with breathable fabric or plastic during dwell time. Rinse them after you finish. Choose cleaners labeled for exterior house washing and follow dilution directions. Collect rinse water if required by local rules, especially near storm drains.
Quick decision flow (bookmark this)
- Is the surface dirty, chalky, or mildewed? → Yes: clean first.
- Is the surface fragile (old wood, cracked stucco)? → Choose soft wash/hand clean.
- Does heavy chalk or loose paint remain after a soft wash? → Targeted low-to-moderate pressure with a wide fan, then hand scrape.
- Has everything dried thoroughly? → Repair, prime, paint.
Related resource
For more details on sequencing and benefits, see our article on the power of clean before painting—why washing sets up the whole project for success: power washing before painting.
FAQs
1) Do I have to power wash, or can I just hose it off?
A hose rinse won’t remove chalk, oils, or mildew. You don’t always need high pressure, but you do need effective cleaning—usually a detergent-based soft wash followed by a thorough rinse.
2) How long should I wait to paint after washing?
In warm, dry weather, many exteriors are ready within 4–24 hours. Wood, joints, and shaded areas may need 24–48 hours. When in doubt, wait longer or check with a moisture meter.
3) Will power washing remove all loose paint?
It will remove some loose paint, but you still need hand scraping and sanding to feather the edges. Washing is cleaning; mechanical prep perfects the surface.
4) Can power washing damage my siding?
Yes, if misused. Use wide-fan tips, moderate pressure, proper distance, and the correct spray angle. When in doubt, choose soft washing and brush agitation.
5) What if my home has lead paint?
Avoid aggressive pressure. Follow lead-safe practices—localized wet scraping, HEPA vacuuming, and proper containment—or hire a certified pro.

David Cooley, the esteemed owner of Cooley Brothers Painting, has established himself as a leading figure in the painting industry. With a rich history of delivering unparalleled service in Torrance, Manhattan Beach, Palos Verdes Estates, Redondo Beach, and Rolling Hills, his hands-on approach and dedication to quality have shaped Cooley Brothers Painting into a trusted name for exceptional painting services. With a focus on innovation, customer satisfaction, and community engagement, David’s leadership continues guiding his team toward new heights of excellence and reliability in every project.